Record the existing room
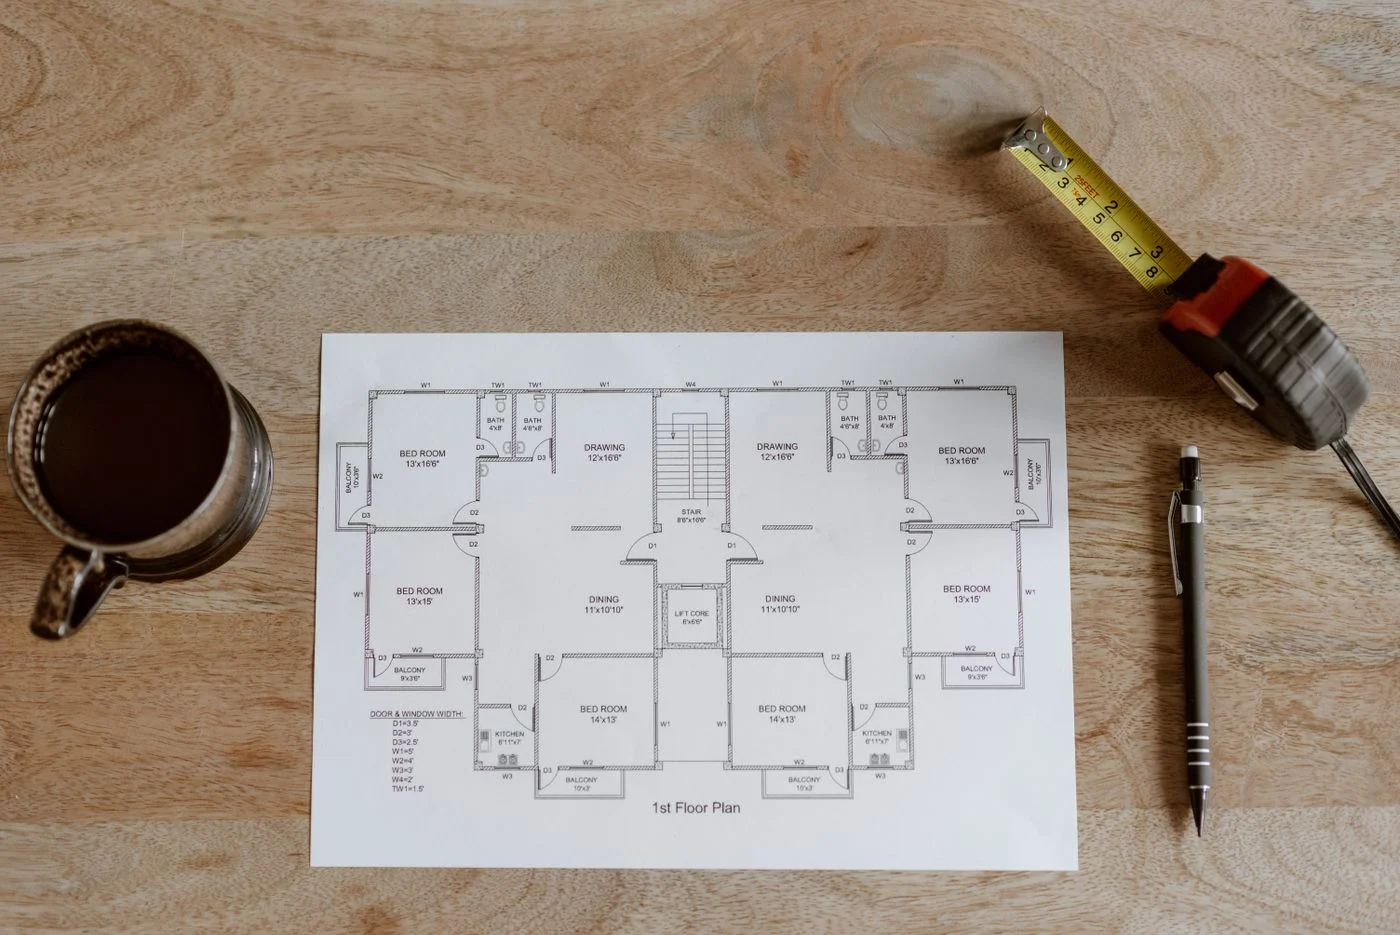
Measure the walls and add doors, windows, radiators and fixed fittings. Include sockets that matter for the intended activities. Small projections can interrupt a row of furniture even when they barely show on a rough plan. Check especially carefully where a piece is expected to fit with little spare room.
Choose one scale and write it down. Paper and digital tools can both work; consistent conversion matters more than the medium. At a scale of one to fifty, two centimetres represent one metre. After printing, check a known wall length so that automatic print scaling has not quietly changed the drawing.
Make movable furniture outlines
Cut paper shapes or create movable digital objects using the overall dimensions of the actual products. Arms, handles and projecting bases belong in the outline. A symbol for a generic sofa is useful for an initial idea, but does not prove that the selected model will fit.
Give moving parts a second outline: an open cupboard, extended table or unfolded sofa bed. Use a different colour for those areas. This makes it easier to distinguish an occasional overlap from an obstruction that prevents a daily function.
Test short everyday scenes
Rehearse an ordinary morning. One person opens the drawers, another goes to the door, and someone pulls a chair out. The plan should not declare these movements individually possible if they cannot happen together. In a tight room, the sequence of activities becomes part of the layout.
Also check cleaning, changing the bed and retrieving less frequently used objects. A box may fit under furniture but still need room to come out again. A cabinet may appear clear in plan while its upper door hits a sloping ceiling. Add a side view with heights for these situations.
Verify it in the room
Transfer the principal edges into the room using paper or marking material suitable for the floor. A cardboard box communicates height better than a line on the ground. Look at the arrangement from the entrance and from seated eye level. Its spatial effect may differ considerably from the tidy overhead drawing.
Keep two options instead of committing immediately to the first. Write down the specific gain and trade-off for each: more storage but less access near the window, or a larger table without a second armchair. A decision with visible consequences is more useful than a plan chosen merely because it looks symmetrical on a screen.
Mark uncertain measurements visibly
Use a different colour for estimated dimensions and those measured directly. An old plan may show wall thickness, later fittings or altered openings differently. Especially for tight fits, an assumption should not accidentally be treated as confirmed. Record whether a furniture dimension comes from a product description or measurement of the existing piece.
Measure critical points more than once and at several heights. A wall may lean slightly, and skirting changes usable depth near the floor. A broad chest may fit beside a windowsill at the top while its base meets a projection below. Such details help a scale plan only when they are recorded in the first place.
In digital planning, perspective views should supplement the measurements. A wide-angle image may make space appear more generous than the actual routes. Numeric dimensions and the on-site trial remain the foundation. Use visualisations for sightlines and height relationships, but do not place a tightly constrained furniture order solely because a rendered view looks convincing.